Painting a skeleton face in forty minutes
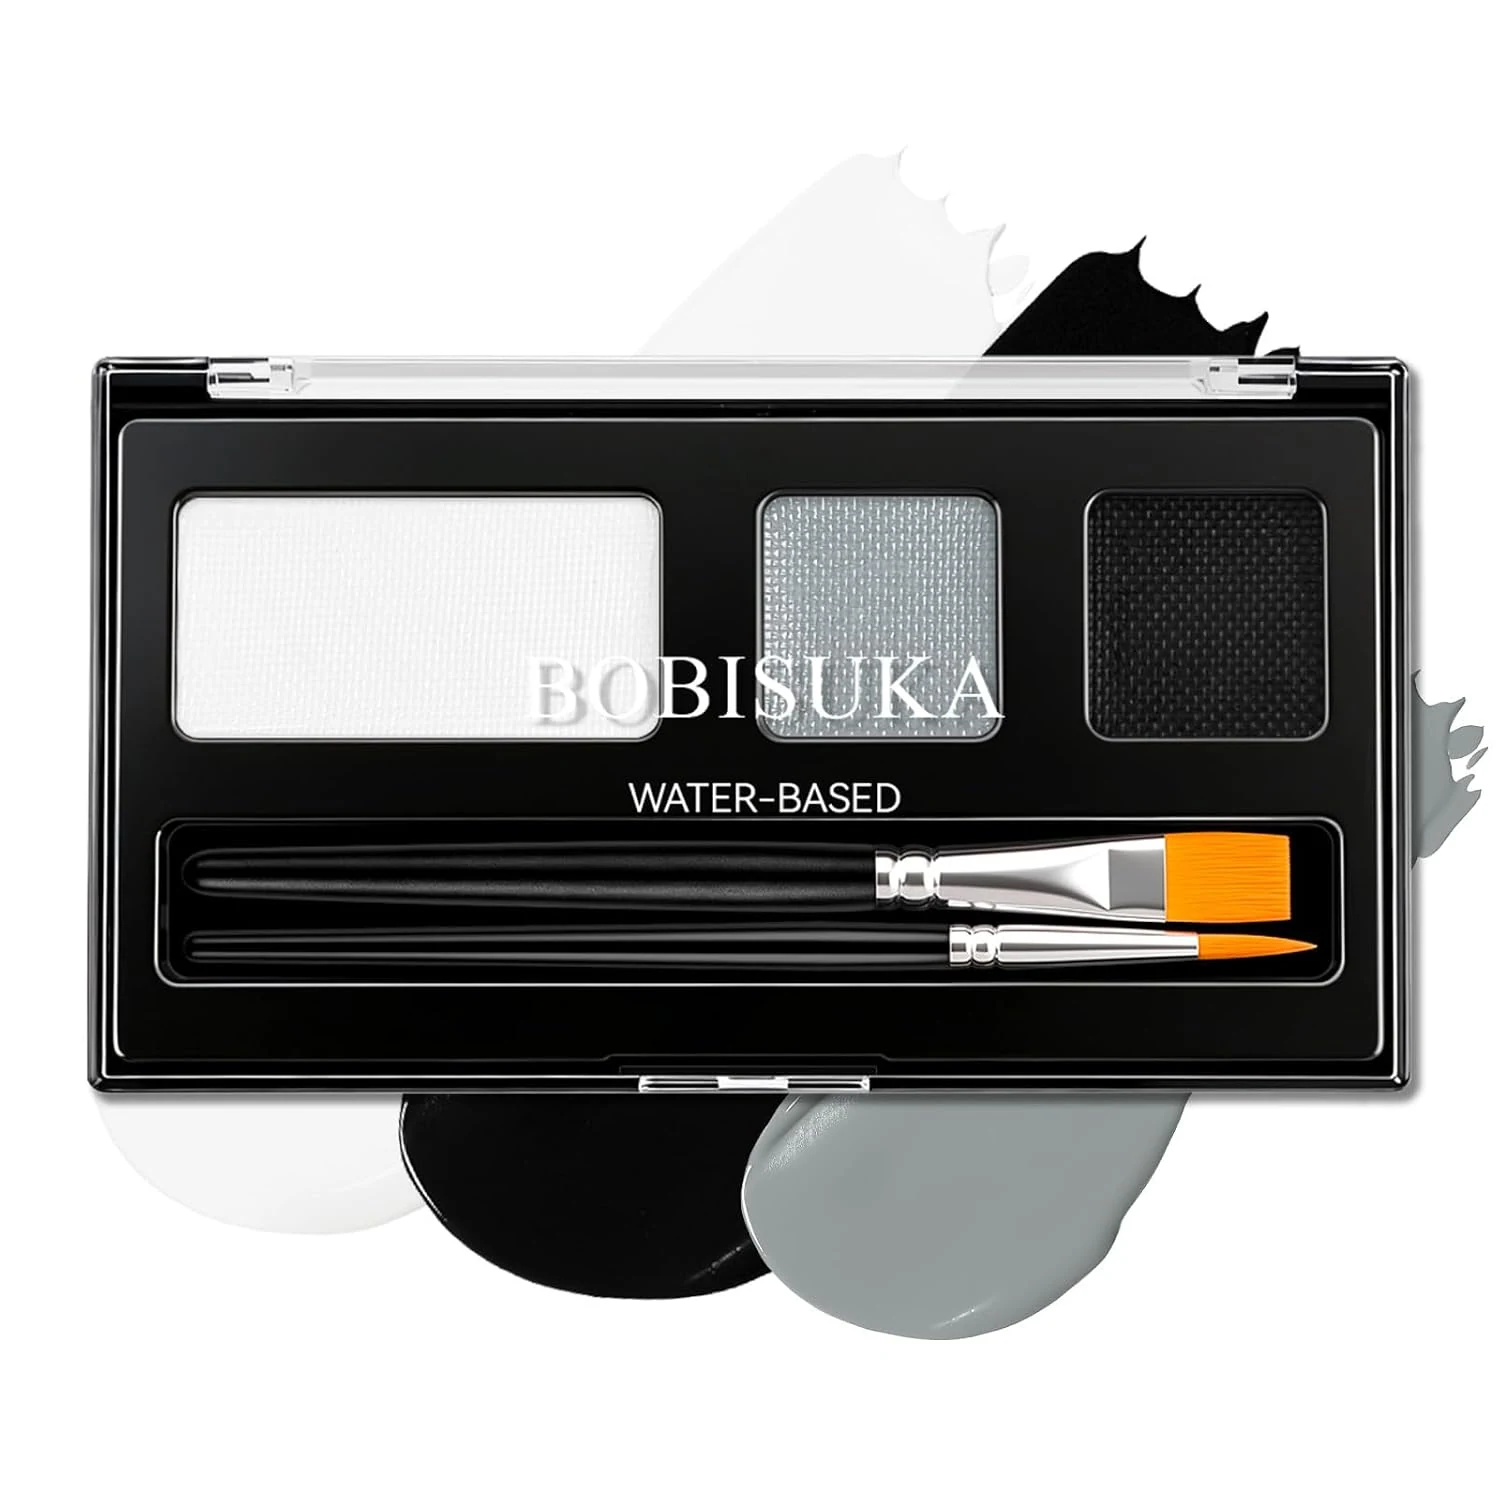
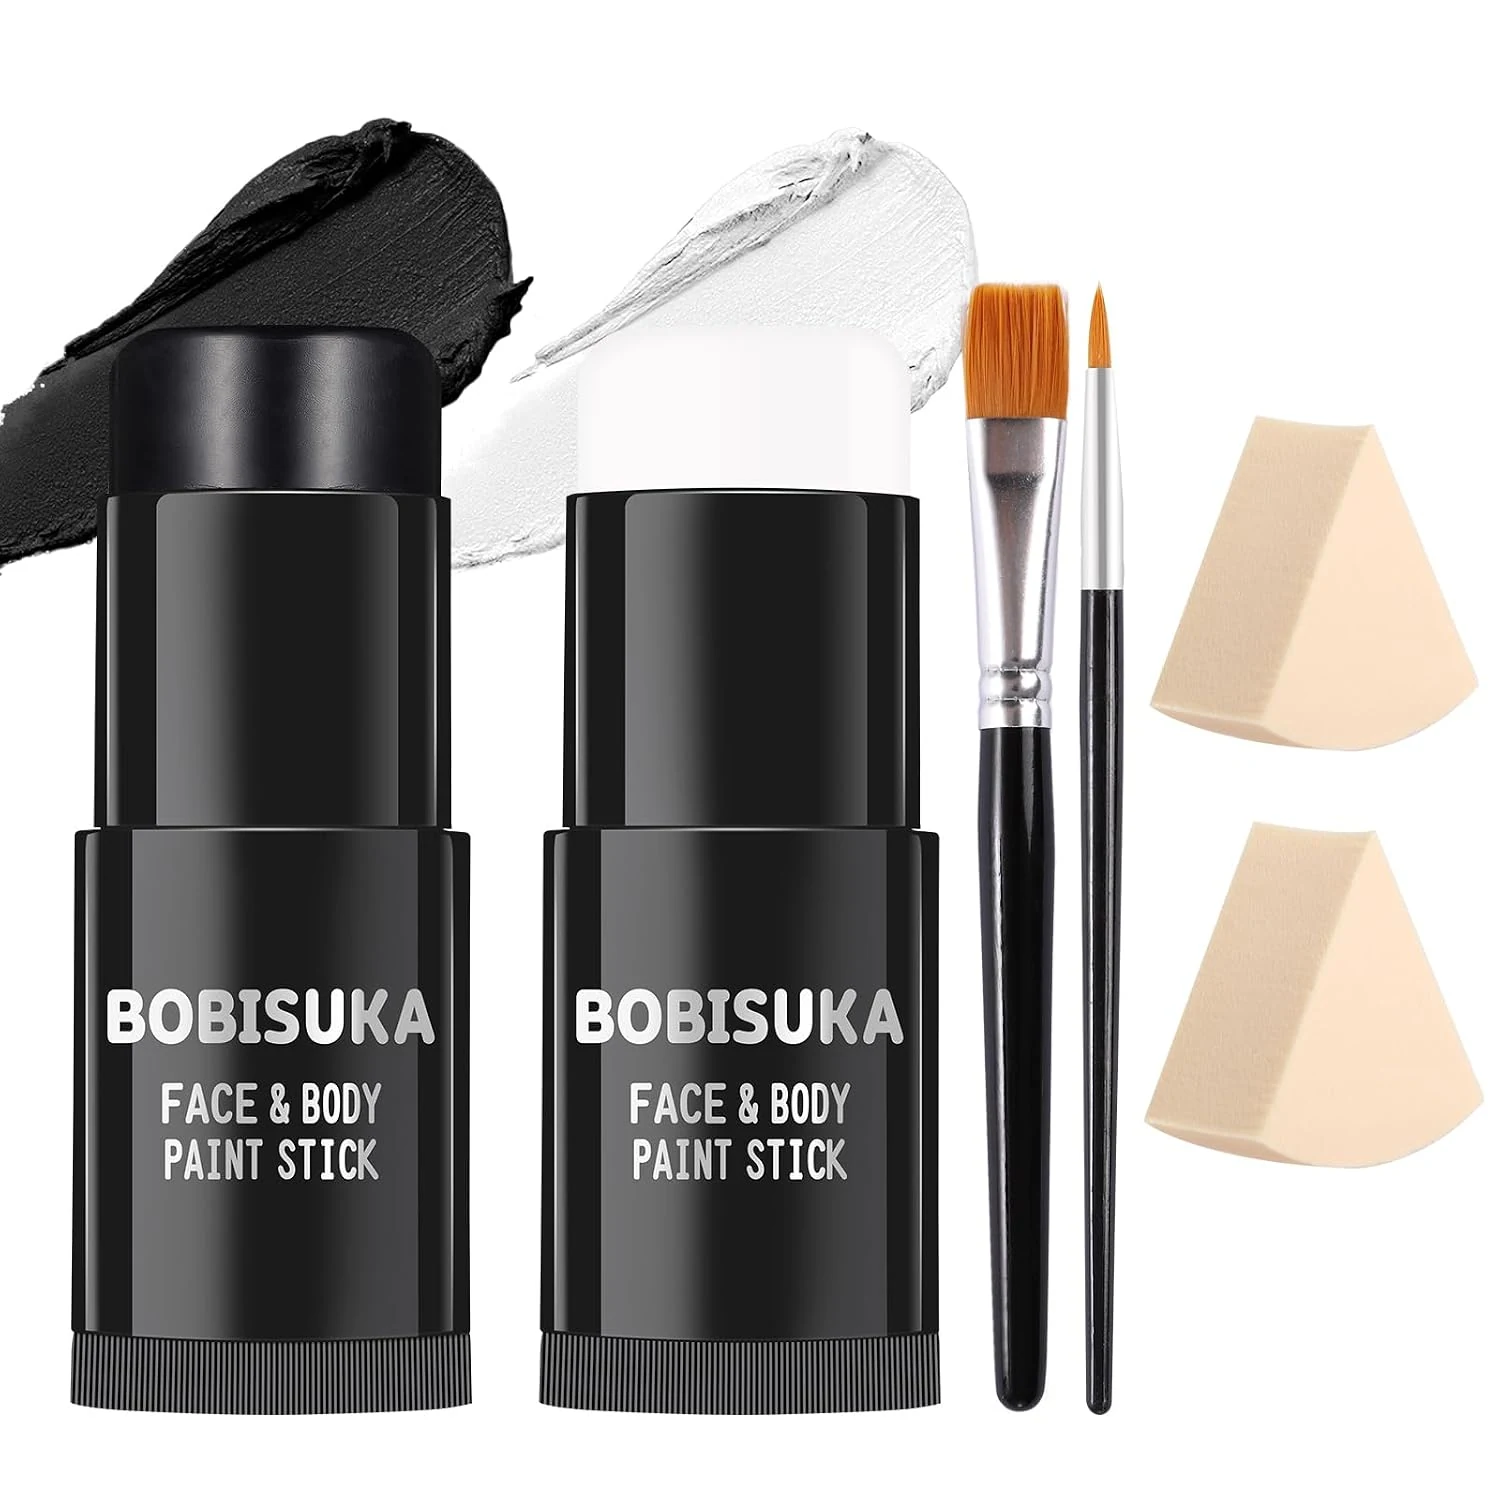
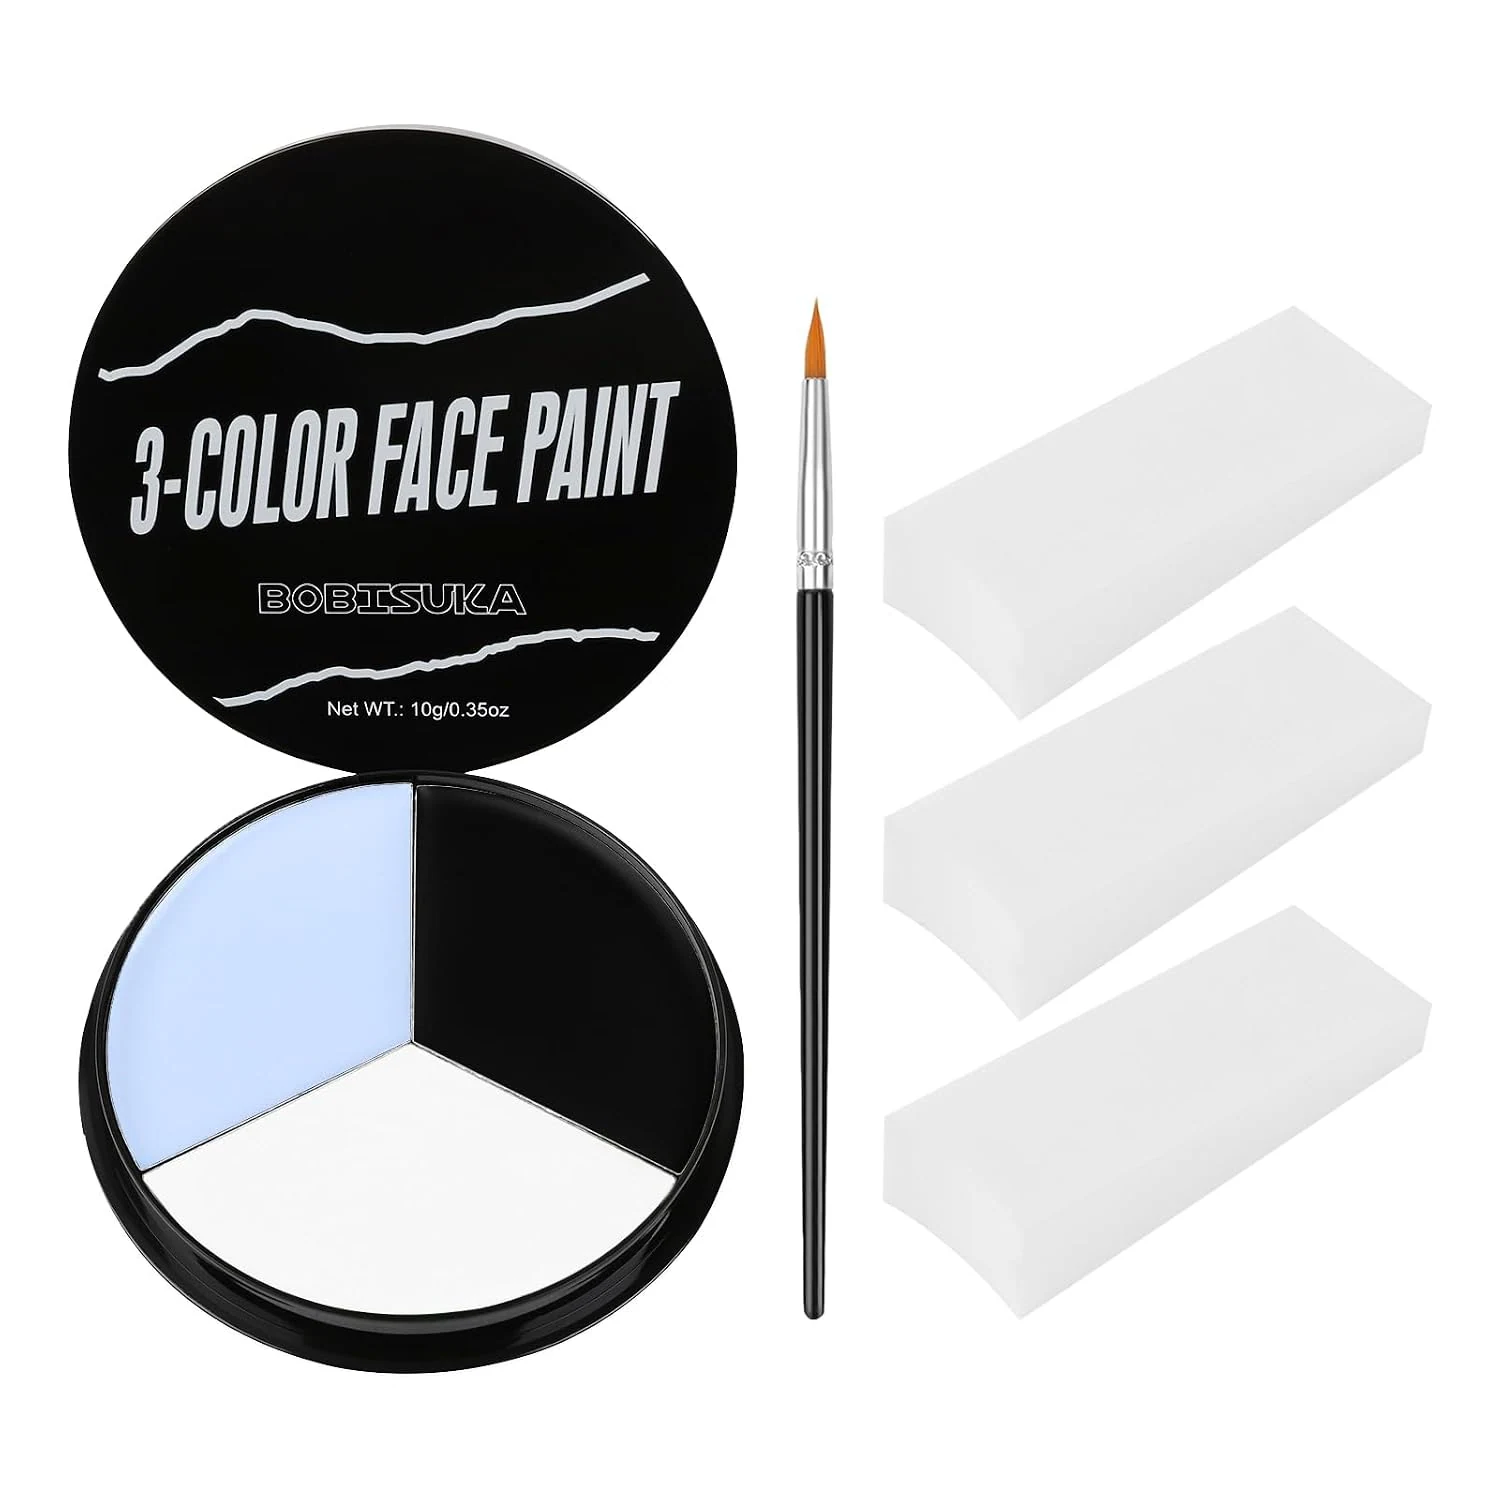
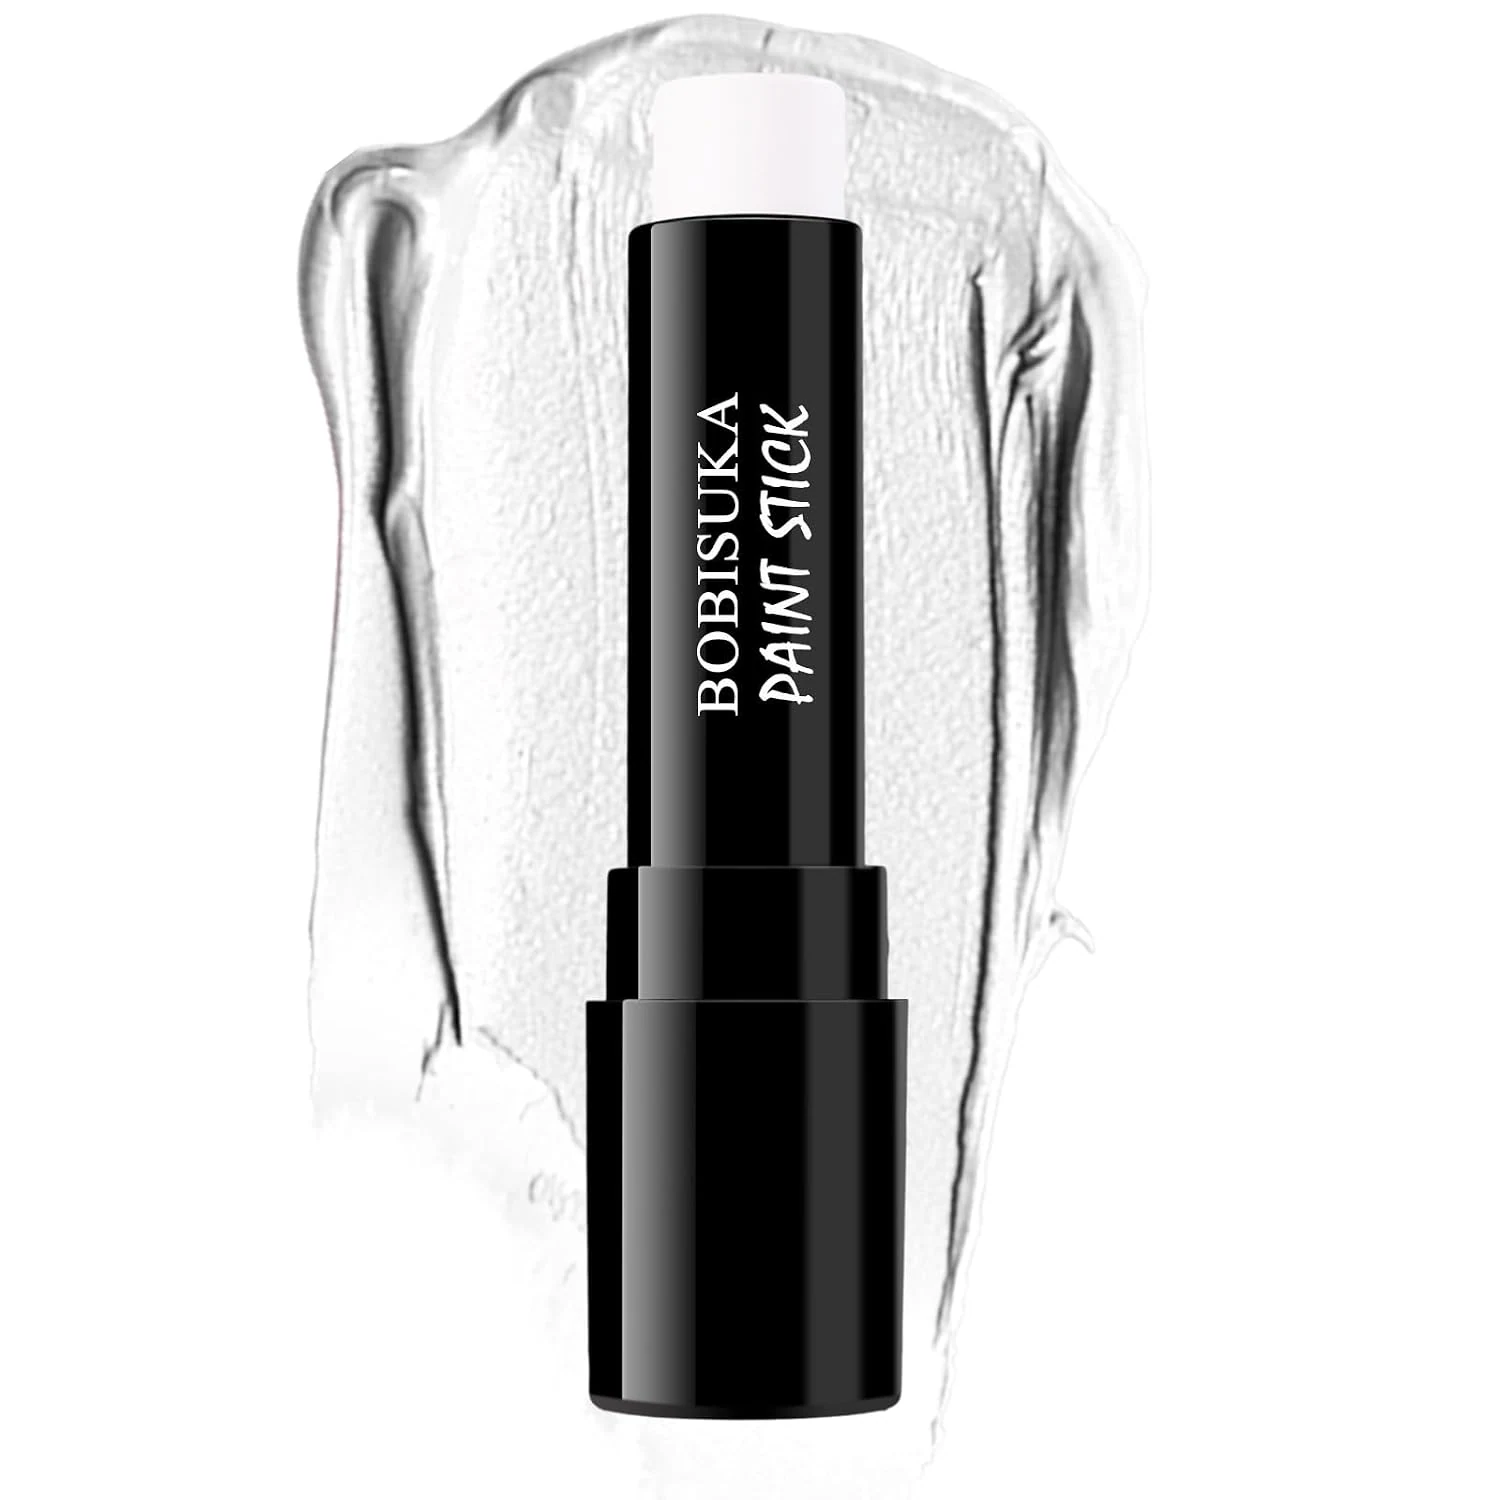
Two pots, one brush and one sponge. The order matters more than the skill, and the order is short.
A skeleton is the face people ask for most, and it is the one that punishes rushing. It is also almost entirely black and white, which means two pots will do the whole thing. The skill is not in the drawing. It is in the order.
Set out what you need before you start, because halfway through your hands will be white and you will not want to open a drawer.
- A white base, enough to cover a whole face twice.
- A black, ideally one that takes a fine point.
- One damp sponge and one brush with a tip.
- Powder, if the white you picked is a cream.
- A mirror you can get close to, and better light than a bathroom usually has.
Black and white, in one box
1. The base, and the twenty seconds that decide it
Sponge white over the whole face, including the eyelids and the lips, and take it back to the hairline and under the jaw. A skeleton that stops at the jaw looks like a mask, and the edge under the chin is the single thing that gives a bad one away.
Two thin passes beat one thick one. A thick pass cracks when the face moves, and the first thing a face does after painting is smile at itself.
If the white is a cream, powder it now. If it is a cake, wait the minute for it to dry and do not touch it while you wait.
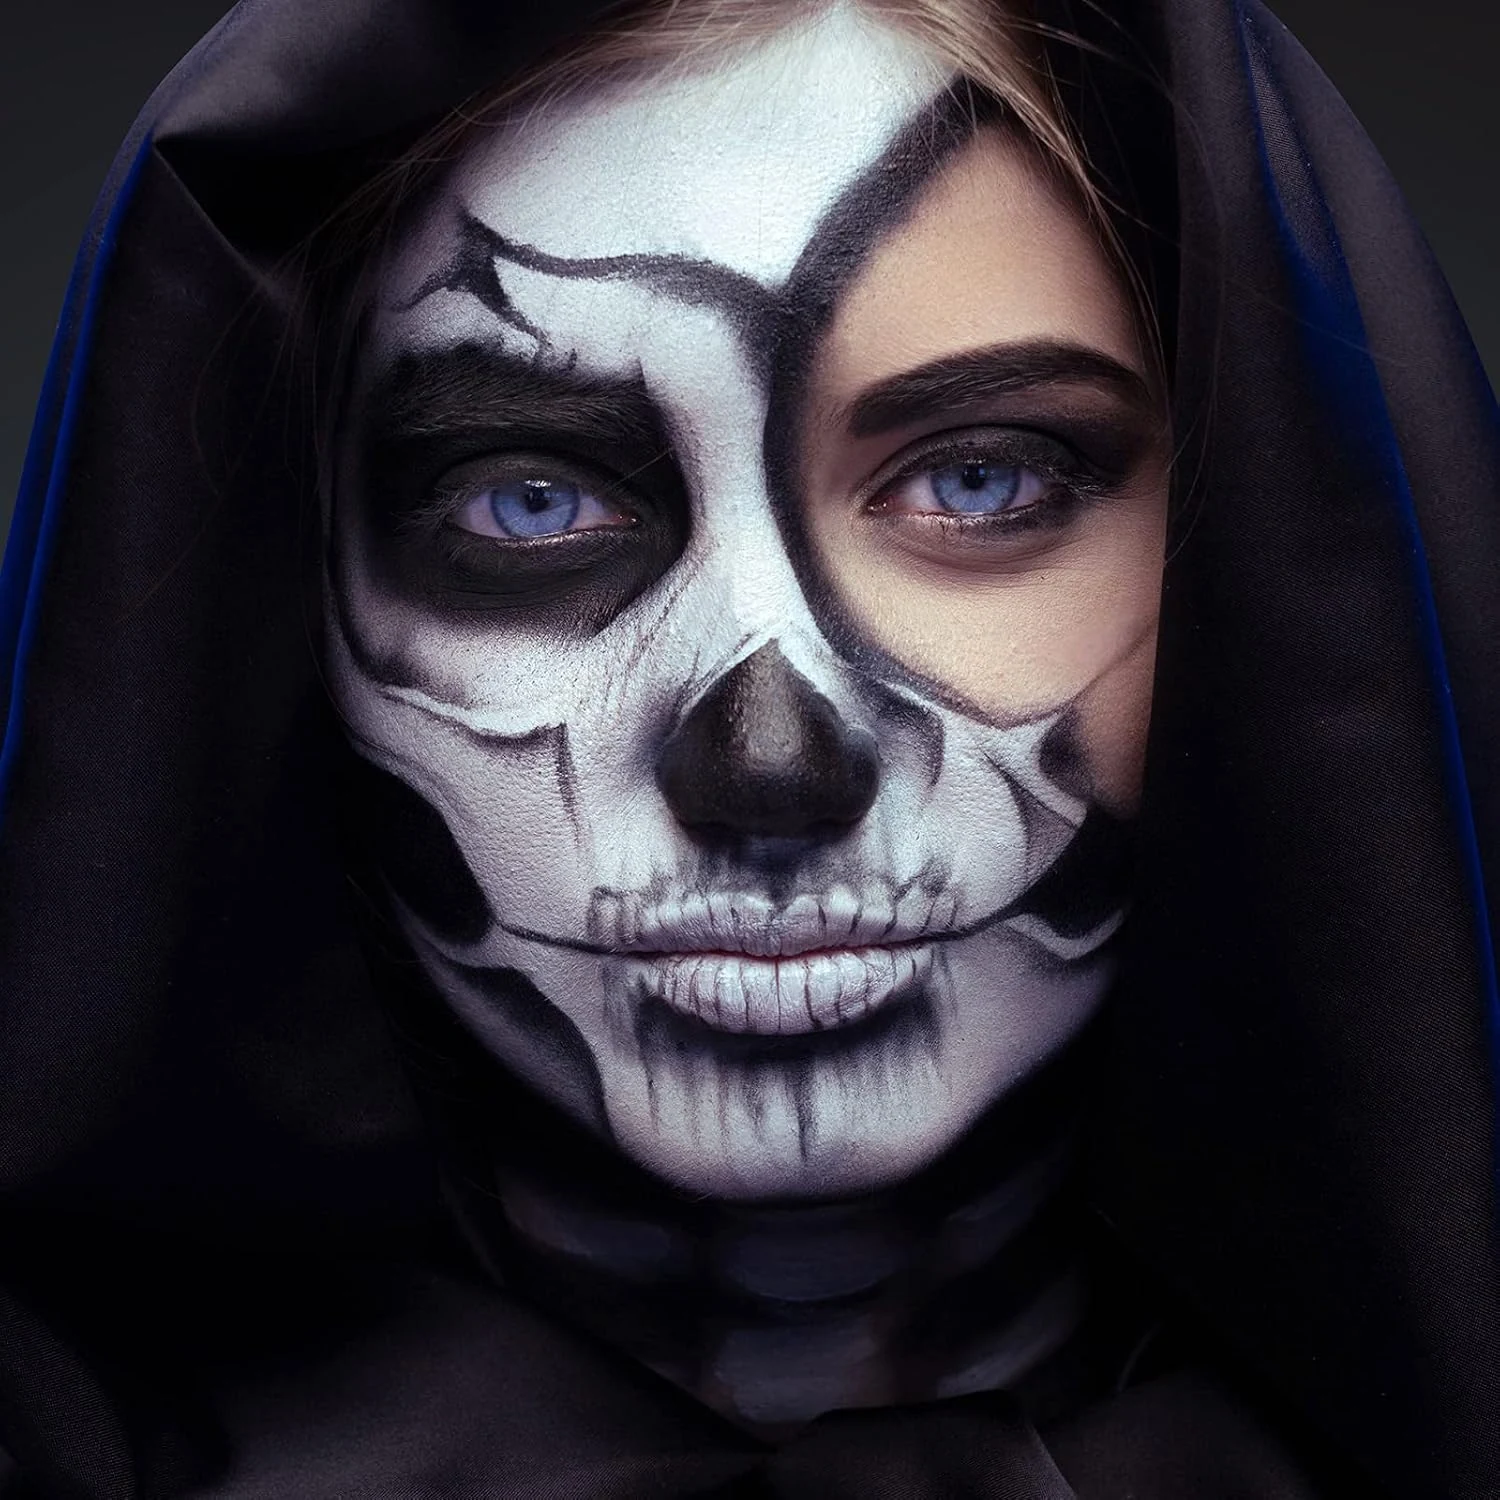
2. The sockets
Black goes in the eye sockets next, and the shape is not a circle. A real socket is wider than it is tall and it sits slightly high, so the black should start just under the brow and finish about a centimetre below the lower lash line.
Fill the middle solid and then soften only the outer edge, leaving the inner edge hard. That contrast is what makes the socket read as a hole rather than as a painted ring.
3. The nose
The nose is an upside-down heart, and it is smaller than instinct says: it sits on the tip and the nostrils, not on the bridge. Paint it solid black and leave the bridge white. A black bridge turns a skull into a panda in one stroke, and that is the most common way this face goes wrong.
4. The teeth
Draw the mouth line first, corner to corner, straight across and past the actual lips on both sides. Then drop short vertical lines down from it for the teeth, and up from it for the lower set, and keep them even rather than neat. Teeth are not the same width and a skull is not symmetrical.
Draw them with the mouth closed and then open it. If the lines vanish into the lip line when you talk, they are too fine, and they want to be twice as thick as they look right now.
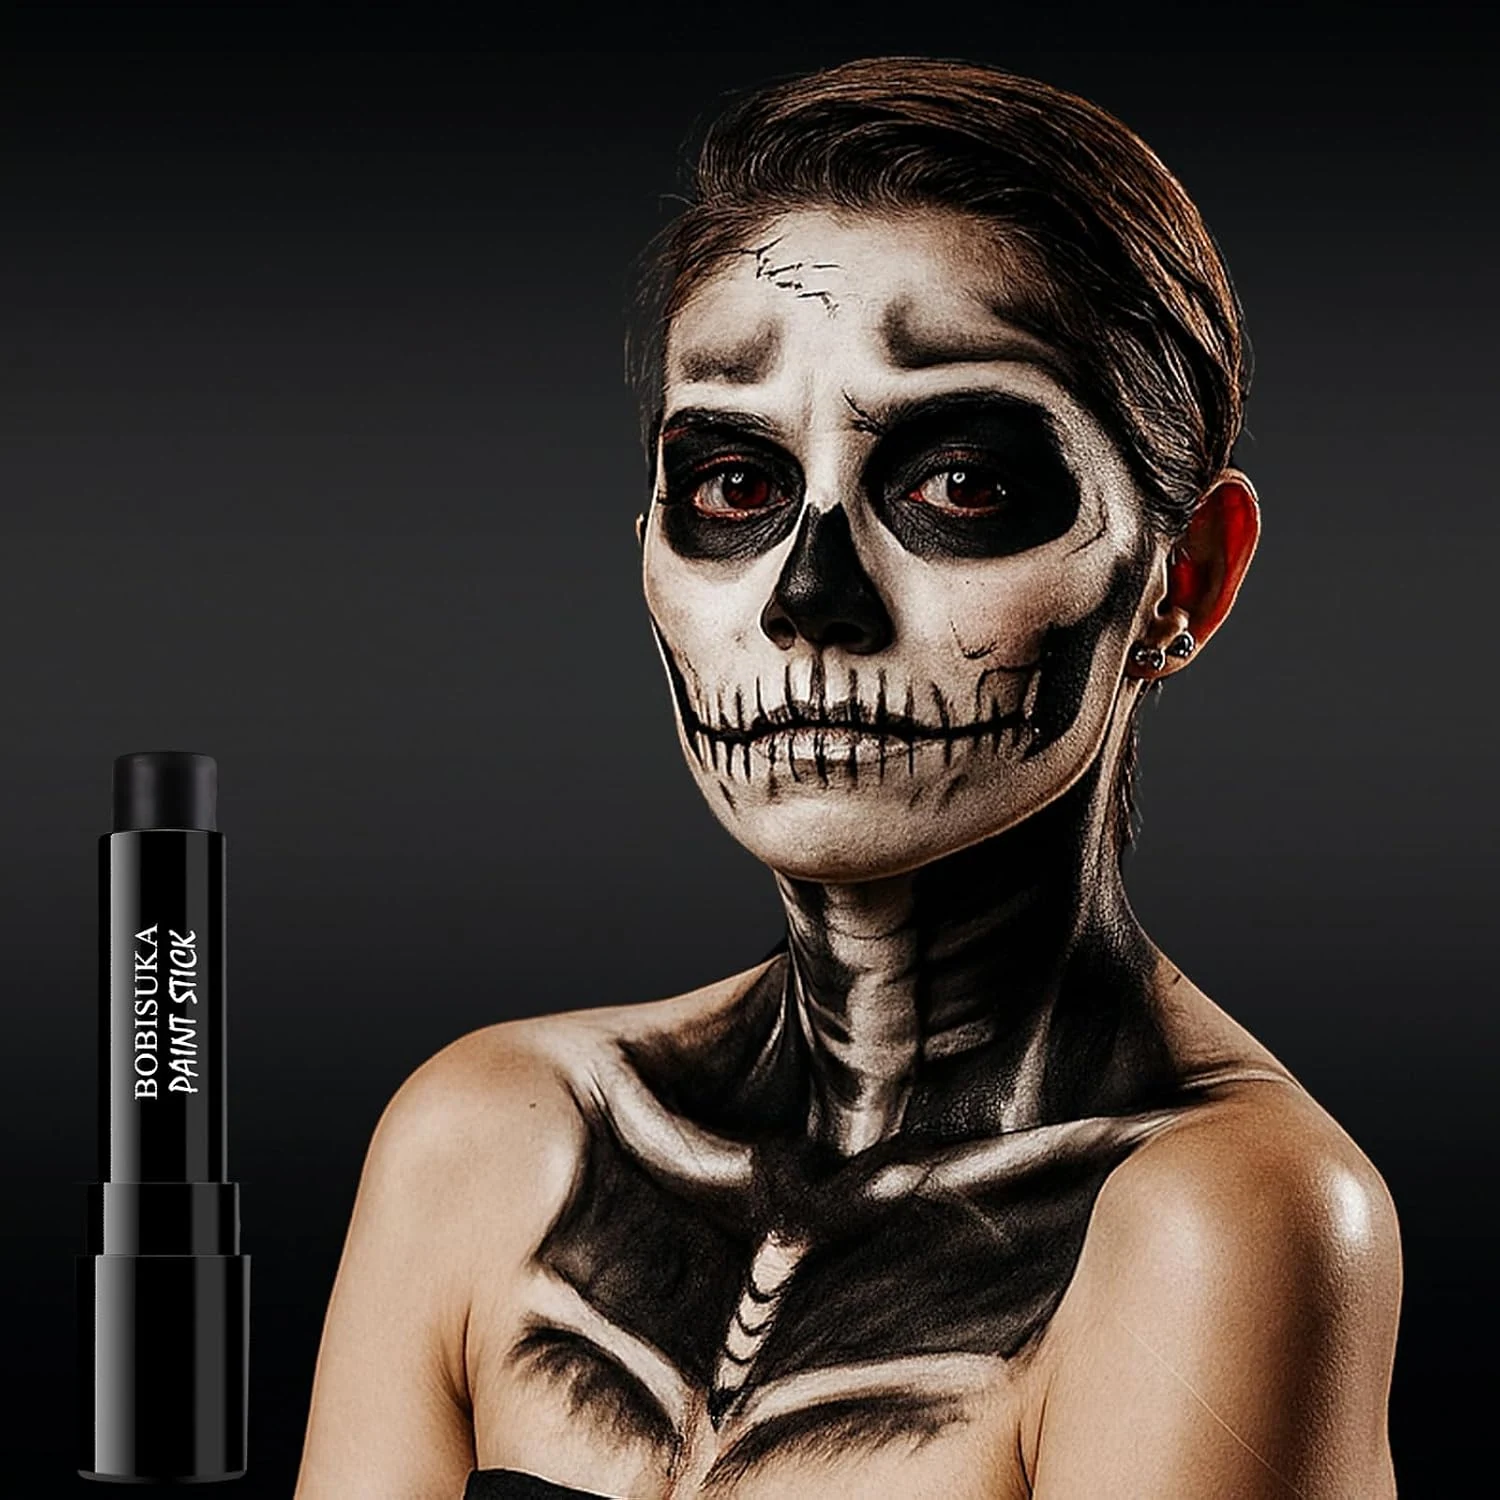
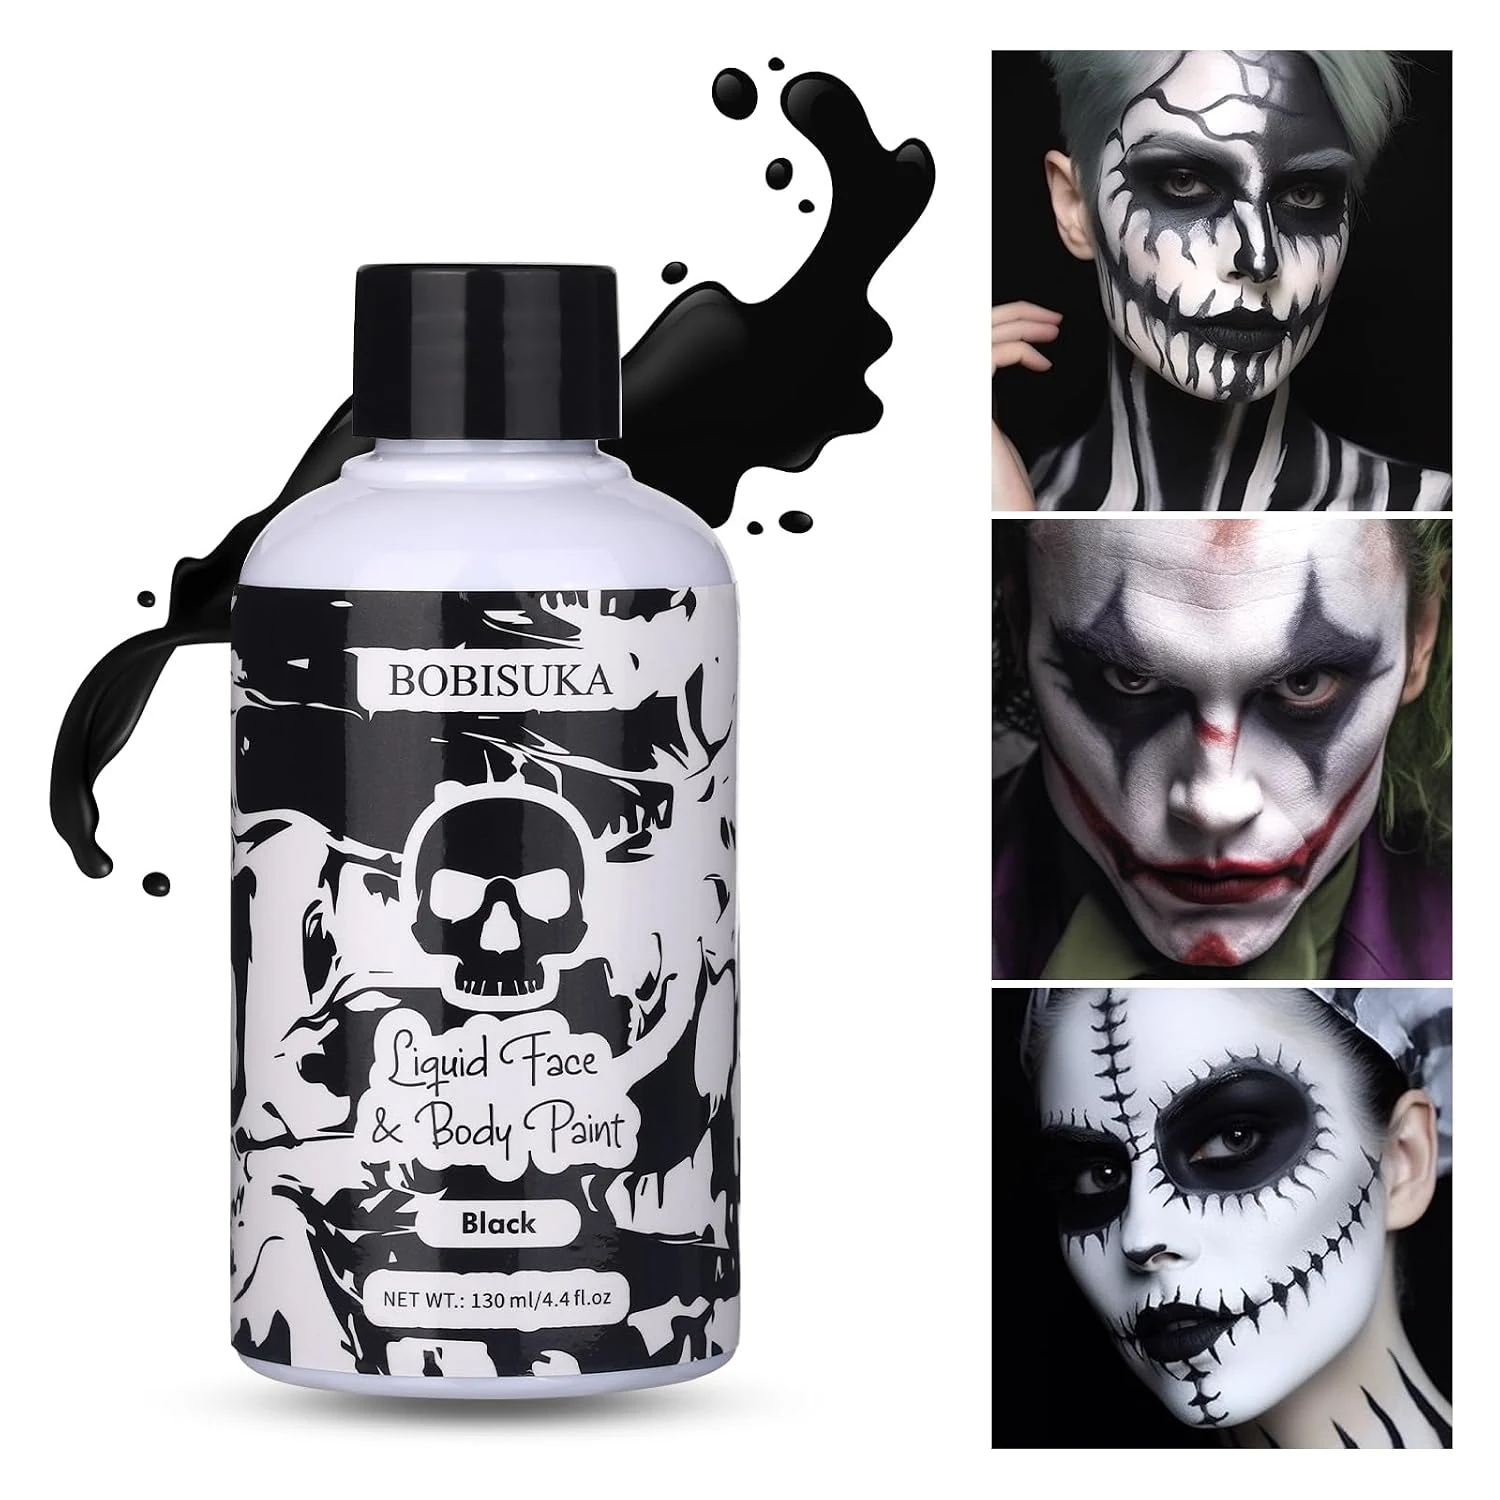
For the teeth and the sockets
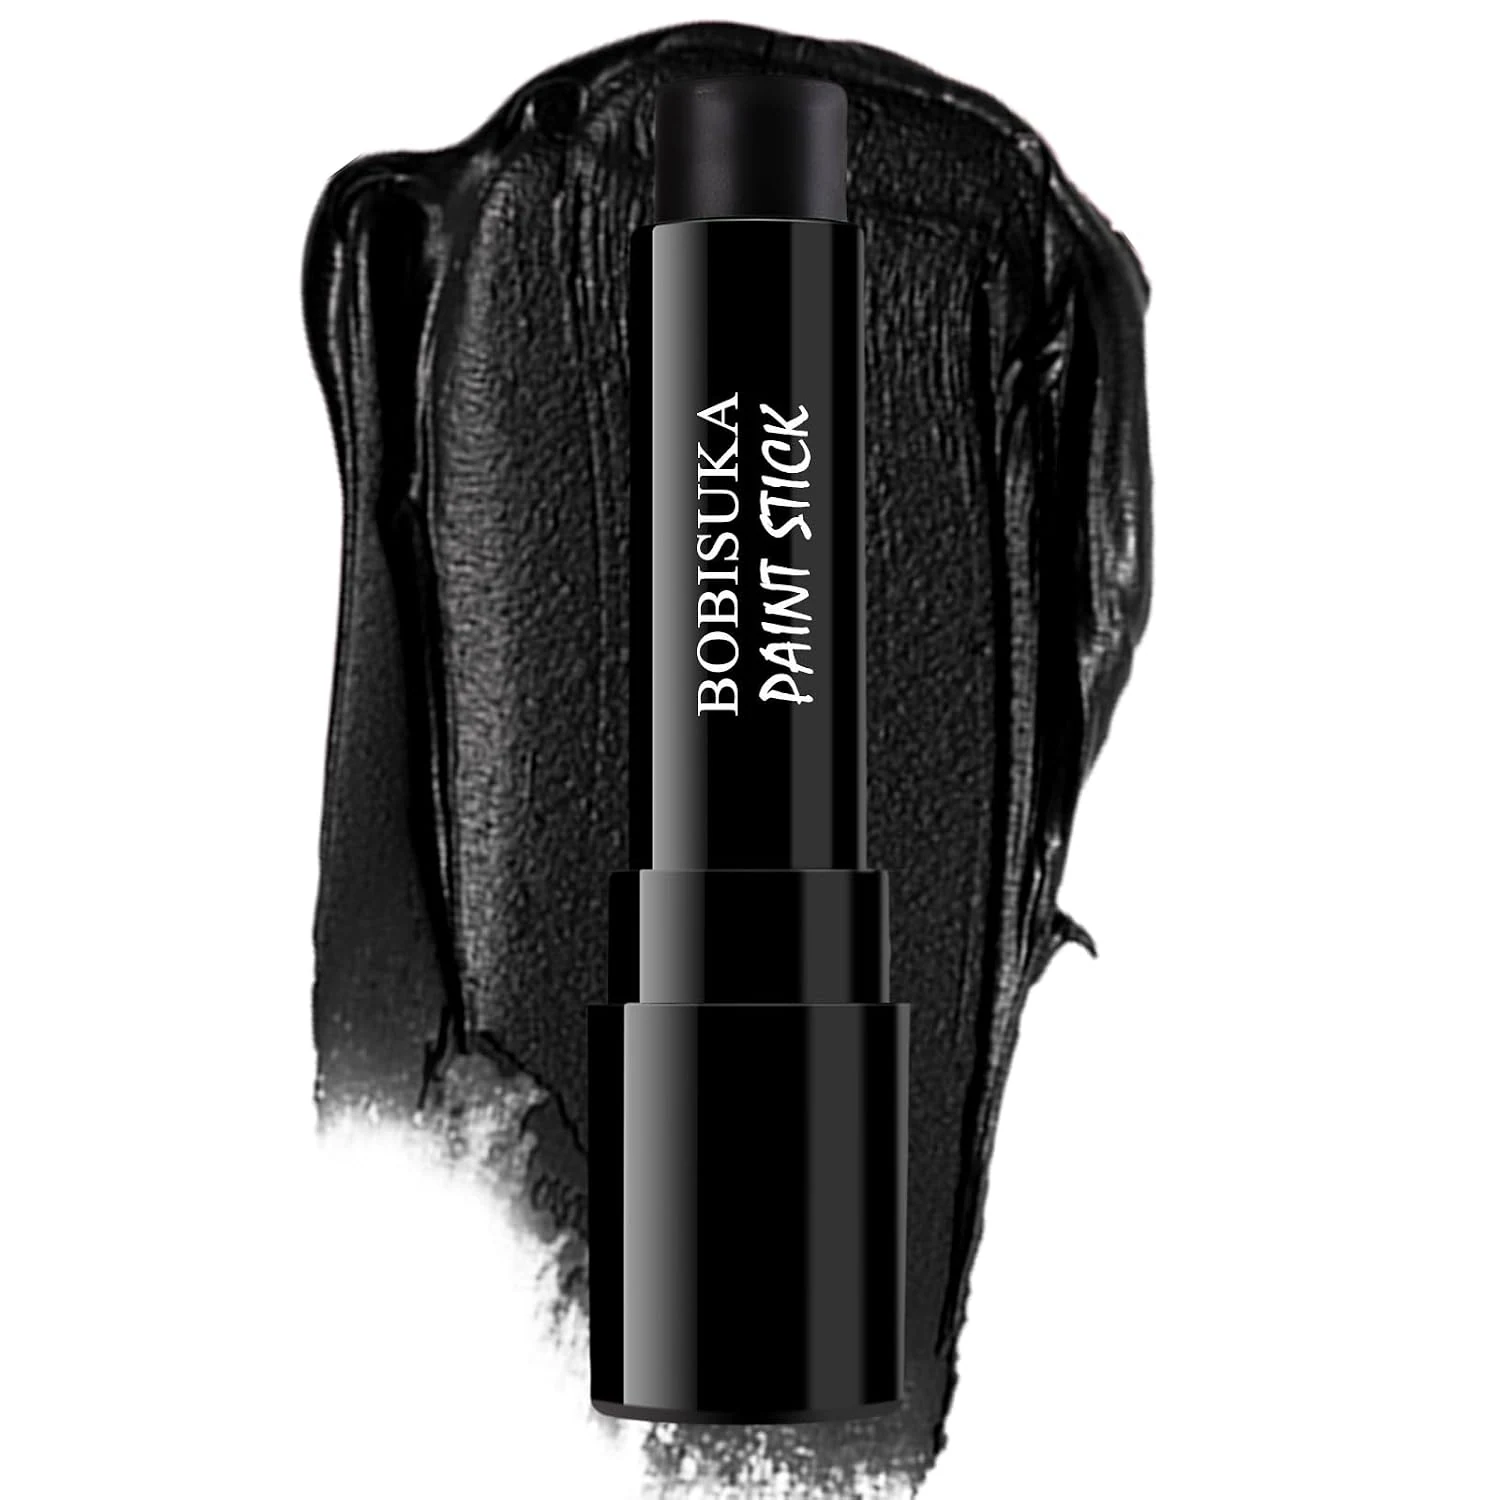
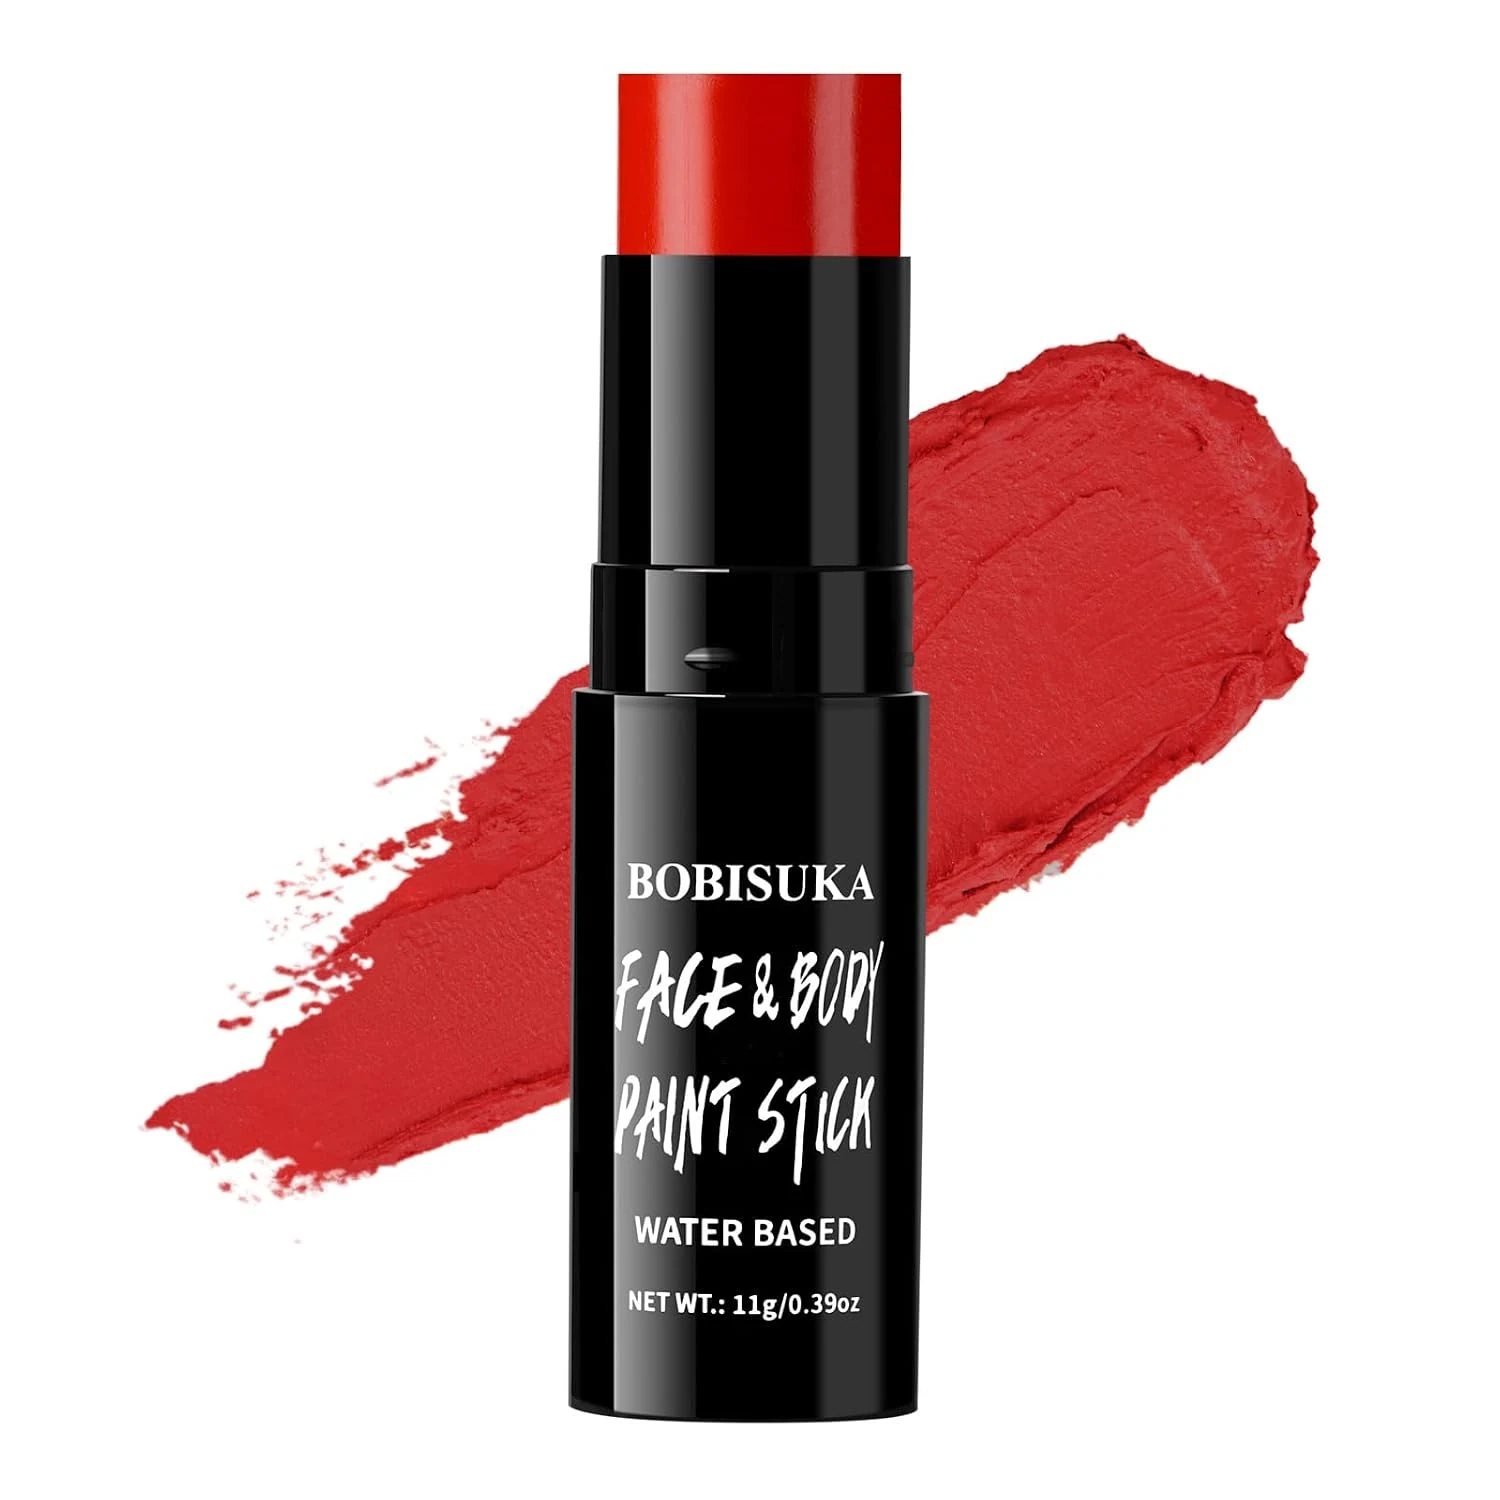
- Black + White + Red Face Body Paint Kit
water-activated · washable
4.3 out of 5$12.74 See What's Inside on Amazon

5. What to skip
Cheek hollows, cracks and shading are optional and most of them make the face worse under low light. A porch light flattens everything, so anything subtle disappears and only the four hard shapes survive: sockets, nose, mouth line, jaw edge. Get those right and stop.
If there is time left, spend it on the neck rather than on detail. A painted head over an unpainted neck is the second way this face gives itself away.
Before you go out
The Consumer Product Safety Commission is blunt about why a painted face beats a shop mask in the first place:
Makeup may be a safer alternative to a mask.The reason is vision, and the same release adds thatEye and nose holes in masks should permit full visibility and adequate breathing.Read on 19 September 2026 at cpsc.gov.
One more from the same release, and it has nothing to do with paint: dark clothing on a dark pavement is the actual risk of the evening. Use reflective tape as a trim for costumes and outerwear to help being seen in lower light.
Sources
- CPSC Offers Safety Tips to Keep Hazards from Haunting Your Halloween. U.S. Consumer Product Safety Commission, read 19 September 2026.
- Novelty Makeup. U.S. Food and Drug Administration, read 19 September 2026.